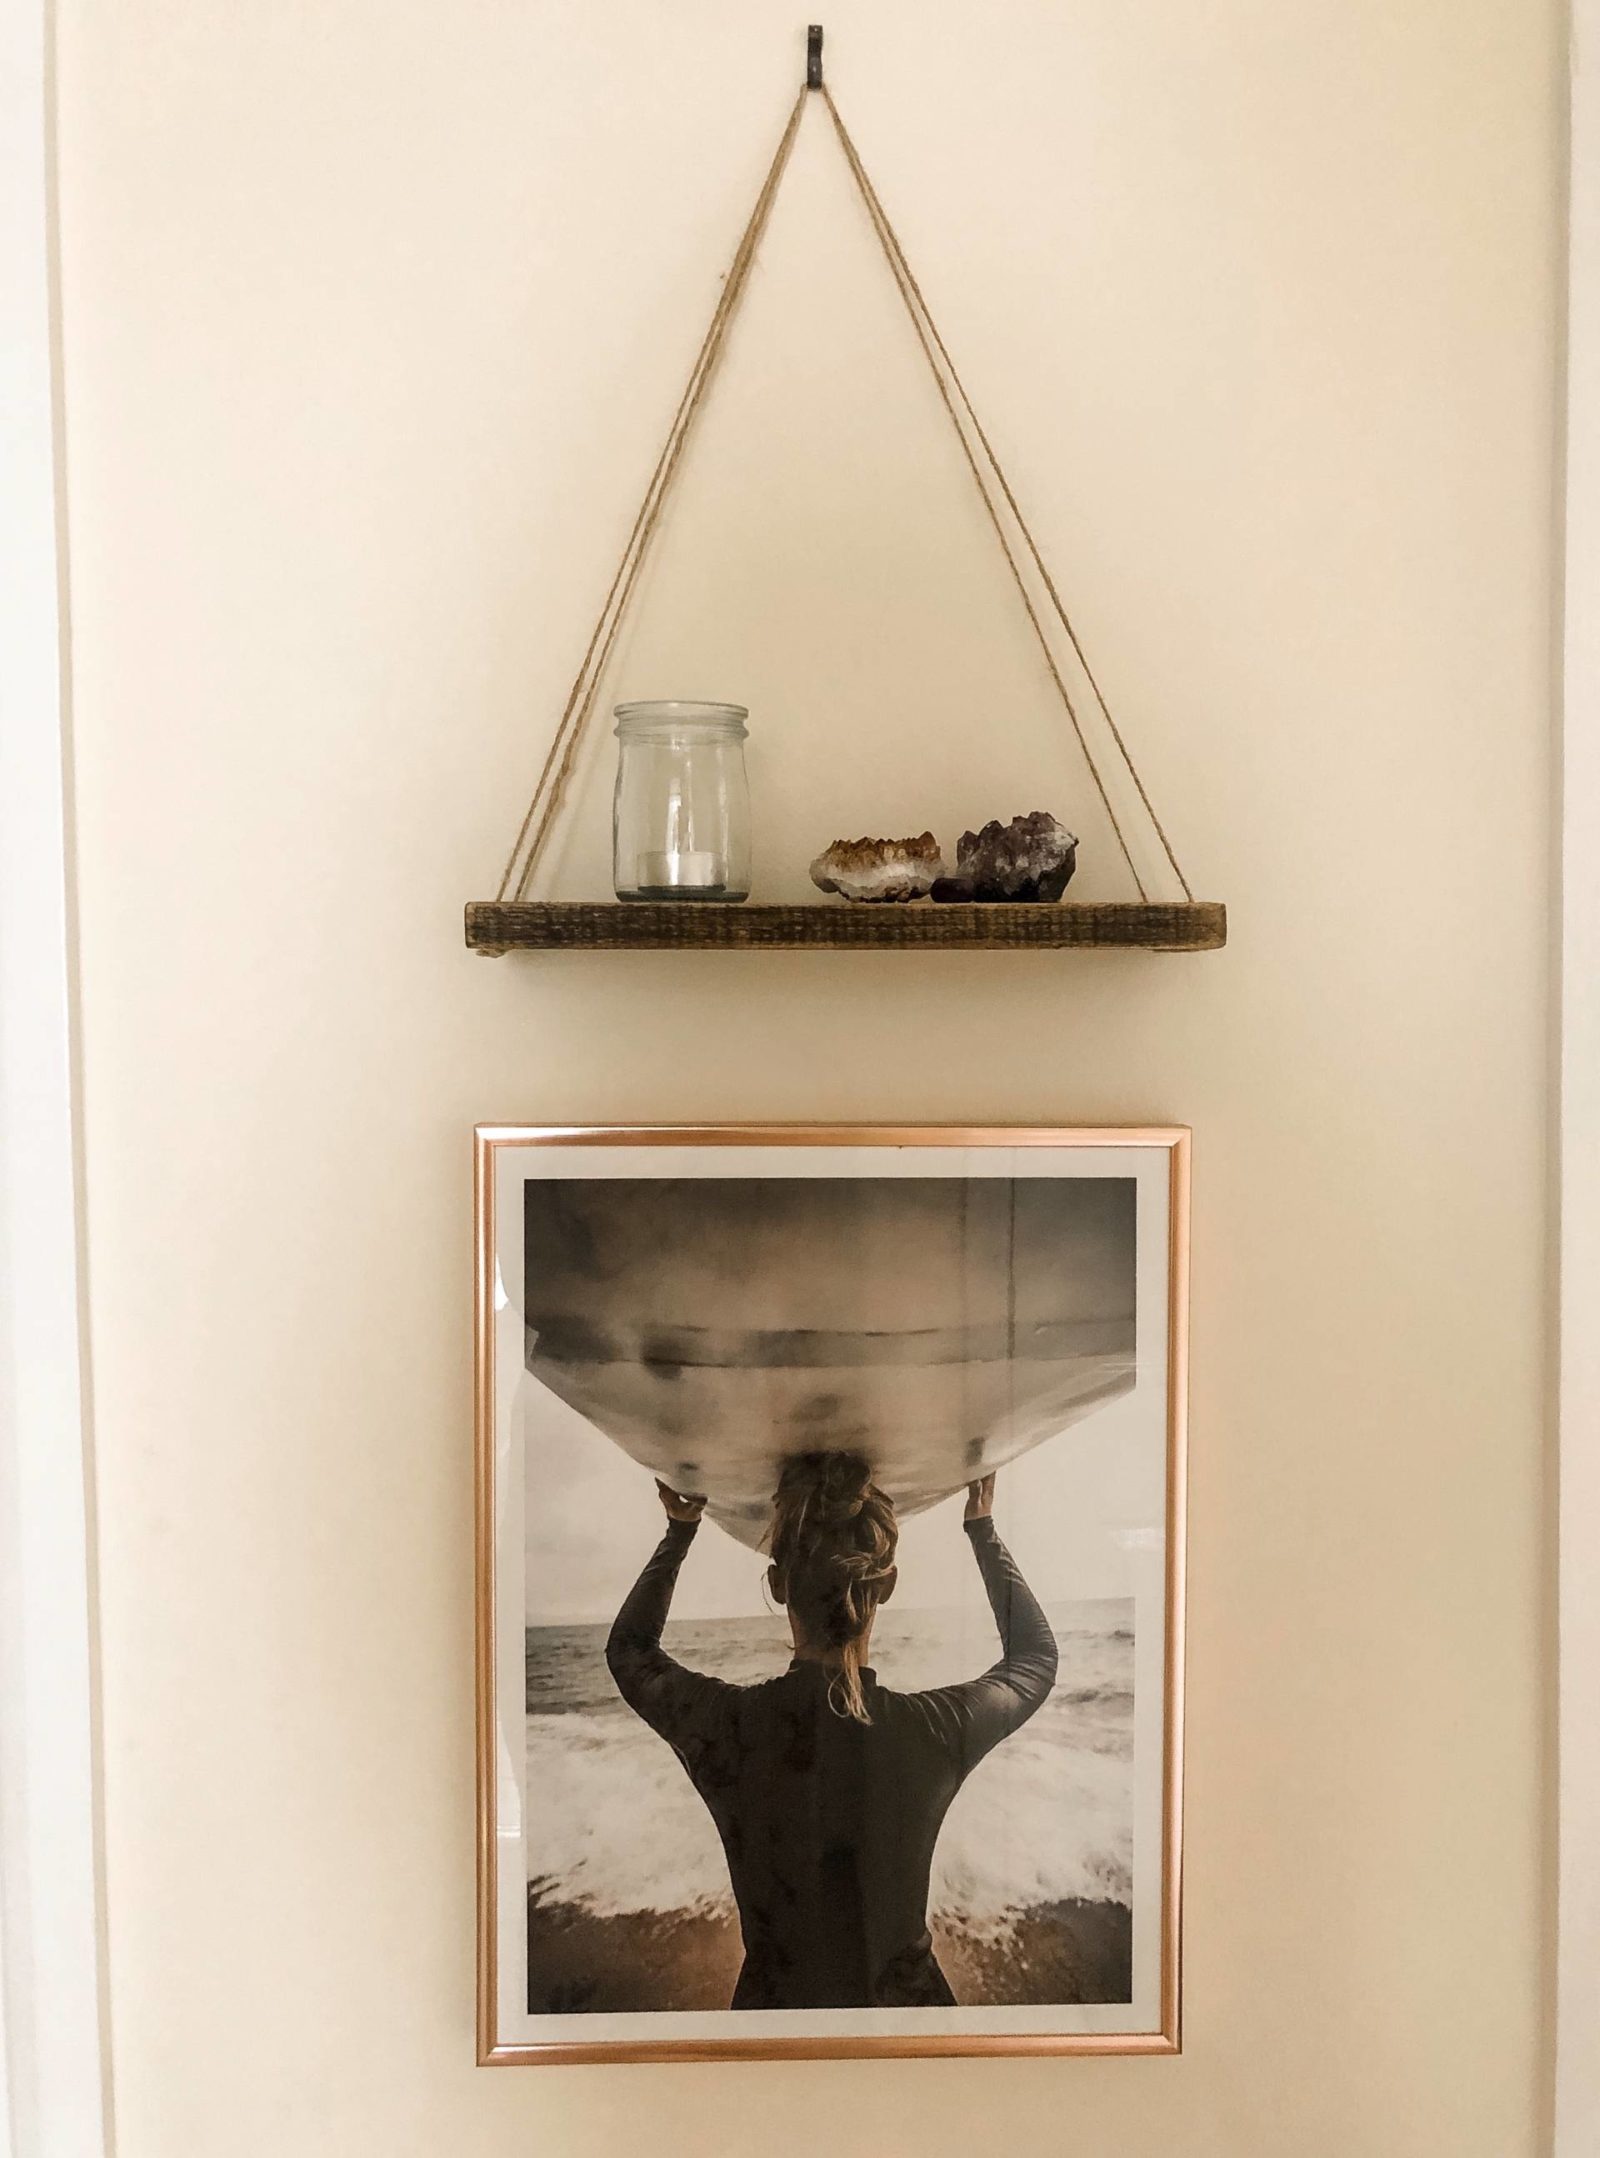
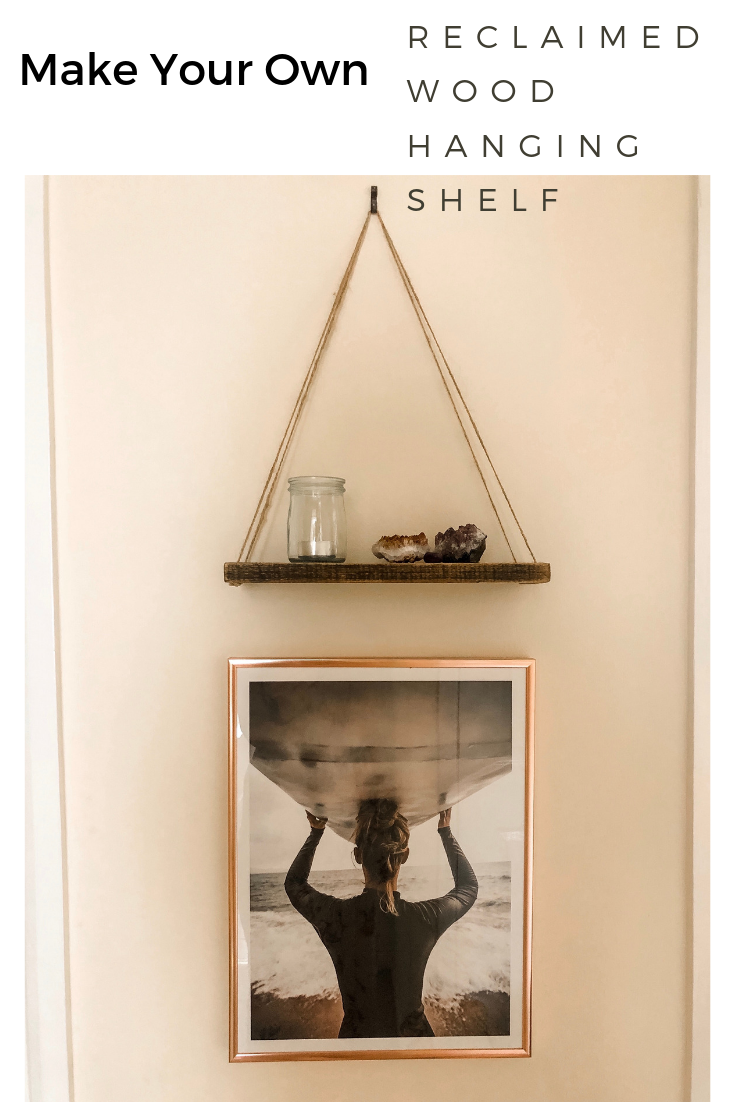
We recently moved house and although we rent I’m slowly finding ways of putting our own stamp on it. I’ve seen some gorgeous reclaimed wood hanging shelves and decided to have a go at making my own. I love the finished look and how you can make it even more your own by changing around the decorations you place on it.
Reclaimed Wood Hanging Shelf
Materials:
A piece of wood
Drill
Jute string
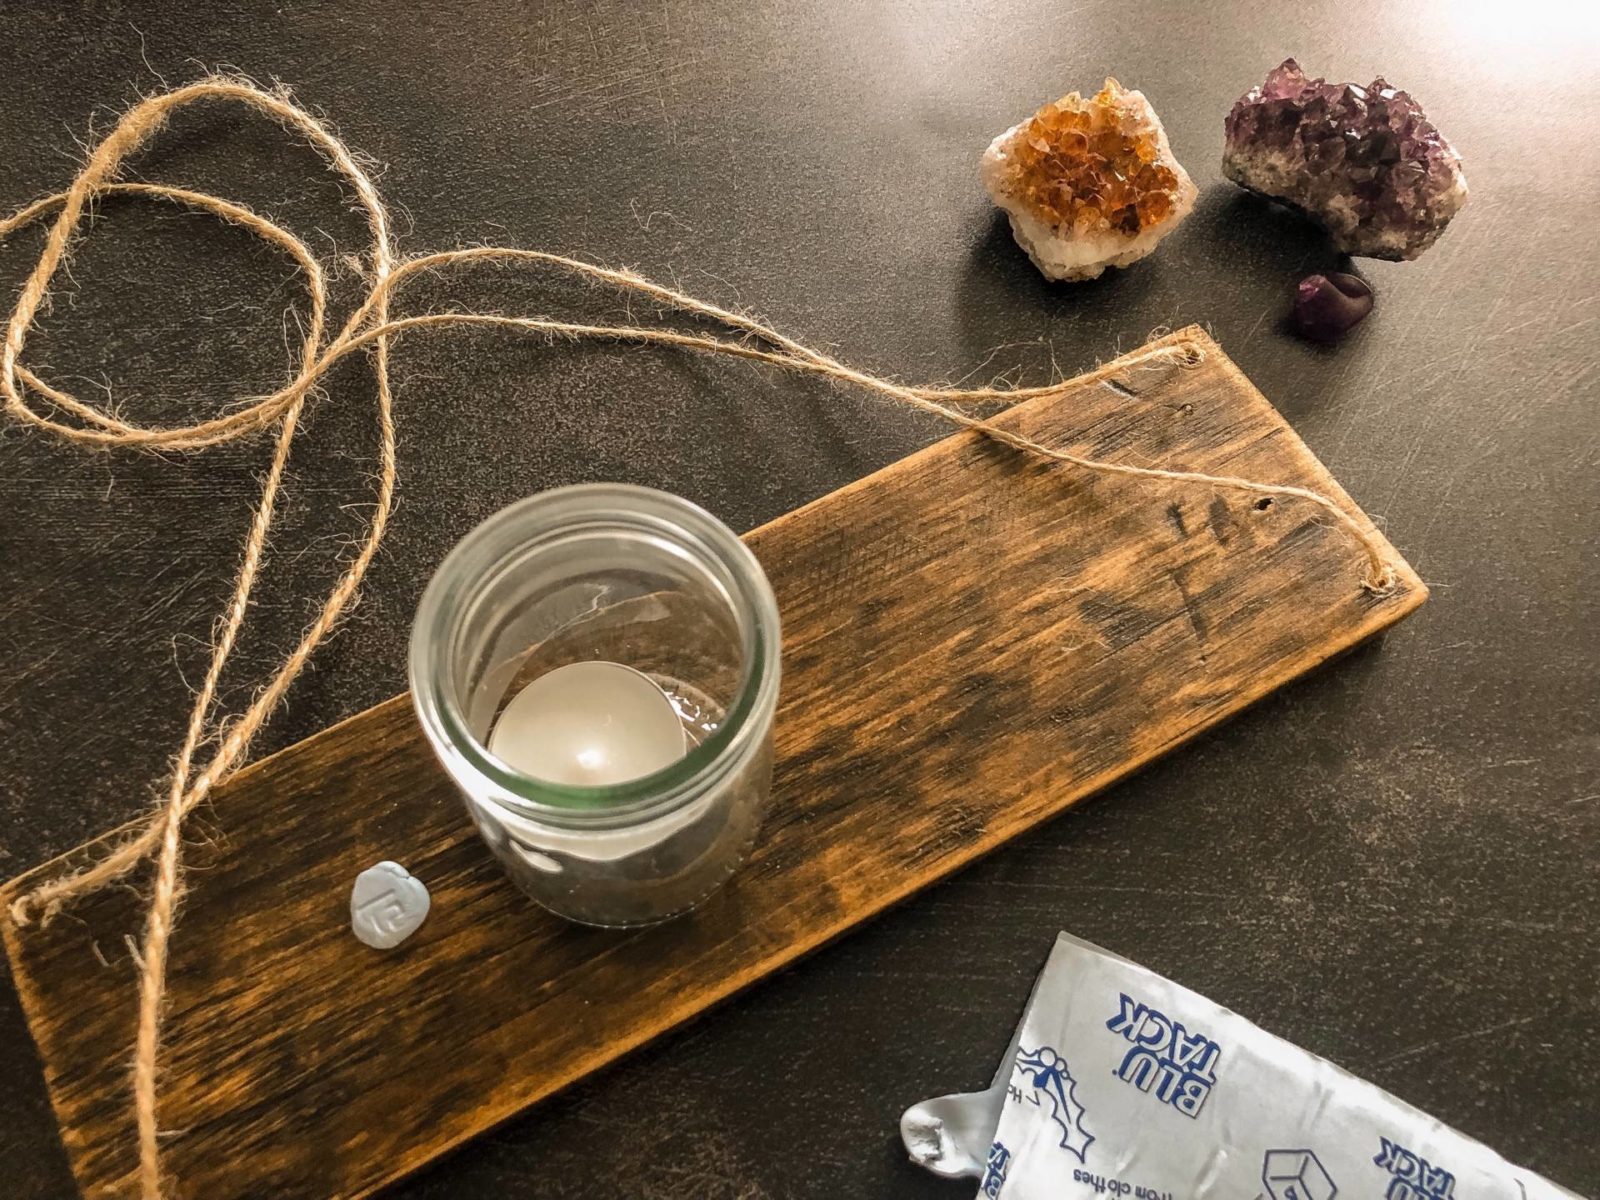
BluTack*
Decorations. I have used an up cycled glass yoghurt pot as a tea light holder and some crystals.
Directions:
If you want to stain your reclaimed wood, do this before drilling the holes.
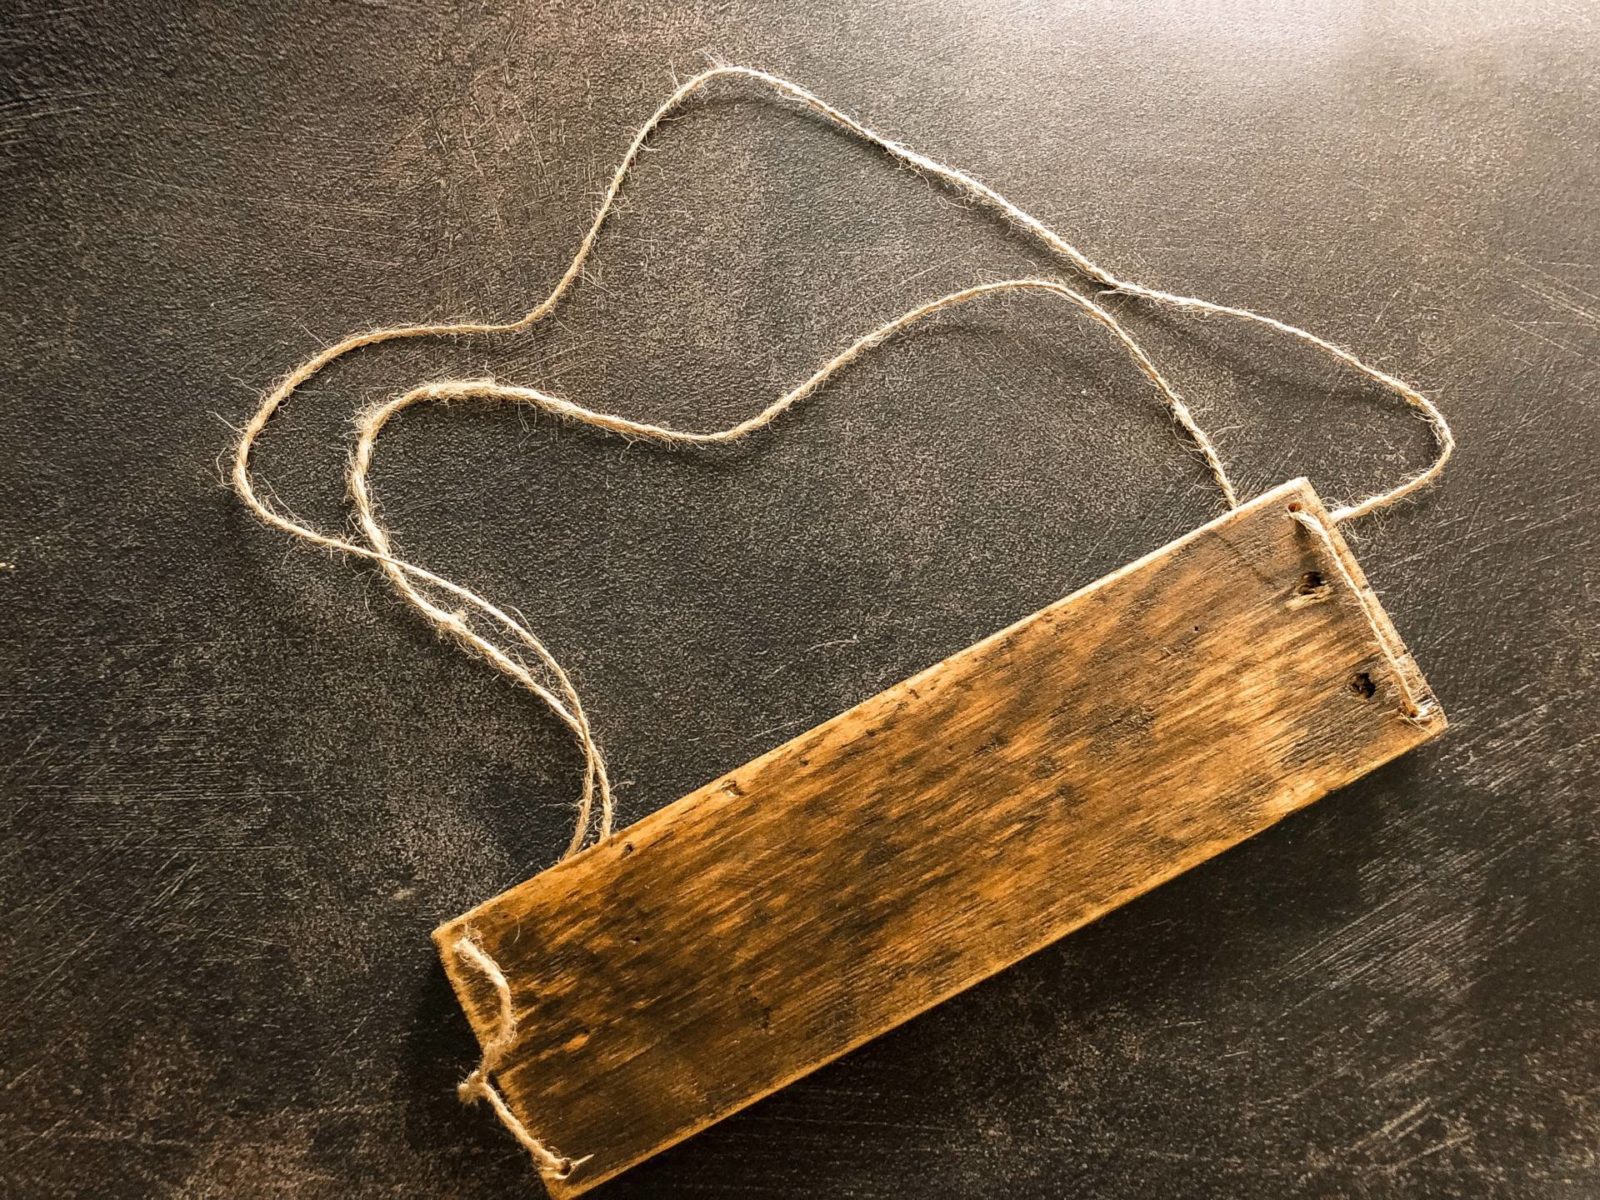
Drill 4 small holes, 2 at each end, parallel to each other. Just make sure they are large enough for the jute string to pass and move through.
Thread the jute string through as per the image below and tie in a knot securely.
Hang on the wall using a picture hook. You can adjust how it hangs by pulling on the jute string. Once in the desired place secure it underneath with bluTack by sticking the jute to the wood to stop it from slipping. For extra reassurance you can also secure flat against the wall with the bluTack.
Note — I also used BluTack which I was gifted for this craft, to secure my up cycled glass tea light holder to the shelf. This means I can remove it to light and replace the candle, but I don’t need to worry about it getting bumped off the shelf.


I love this! Your photography is really clean too 🙂
I love how this has turned out – what a great way to use blu tack